The other day my oldest daughter was browsing through this blog. She said, “Um mom, you only have TWO things under your ‘fun stuff’ category.”
Sure enough, she is right.
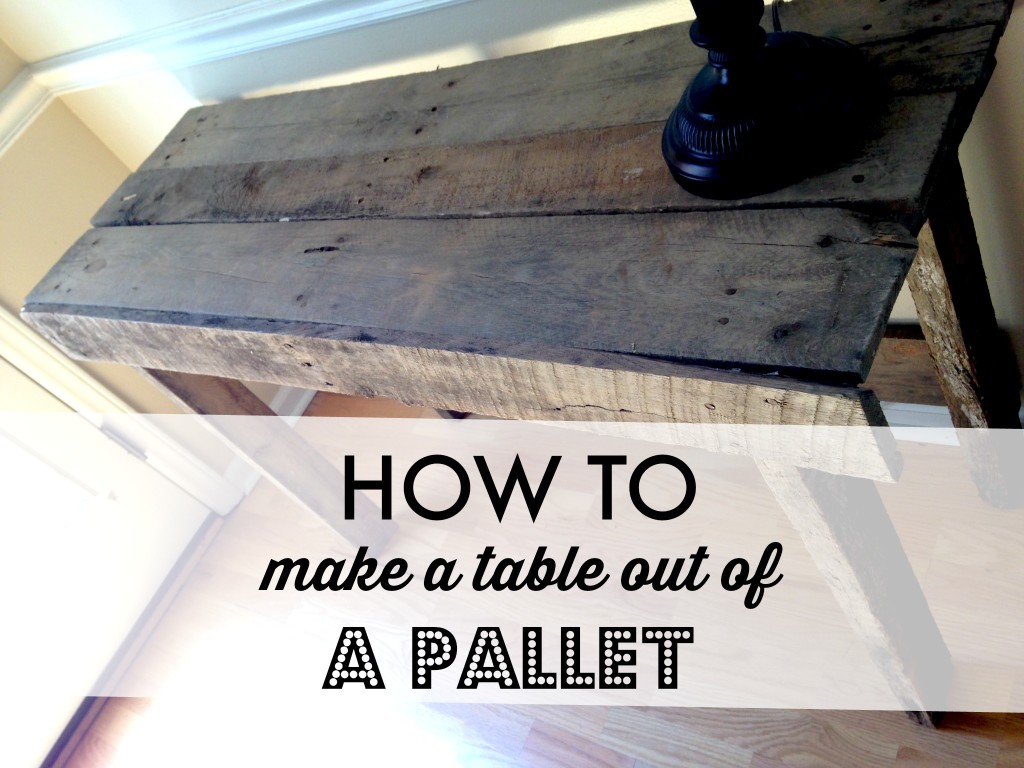
And while I know this little corner of the world has a specific purpose, I also want it to have some fun. So today I thought it would be good to change things up a little and share with you a FREE project my husband and I did last weekend.
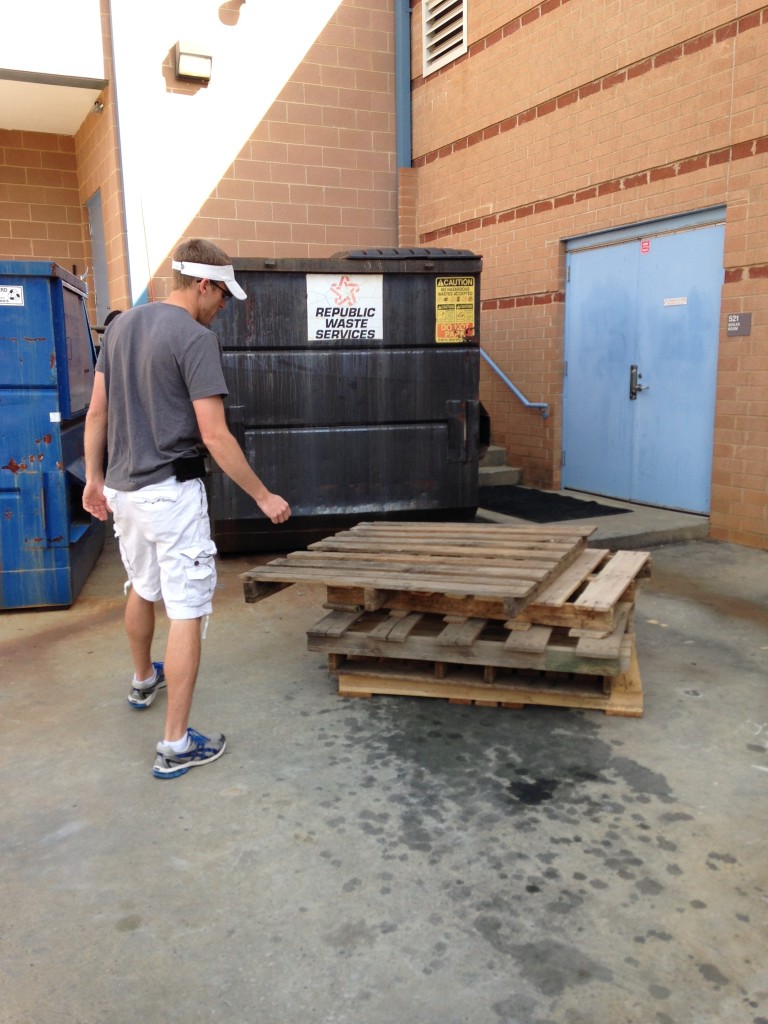
Last Friday night I was sitting in the middle school parking lot waiting for my daughter, Taylor, and her friend to finish track practice. I saw some of her teammates carrying what appeared to be nasty, old, wood pallets to the dumpster.
To which my heart began to flutter. 🙂
To which my middle school daughter turned a fire-engine-embarrased red as her momma pulled the minivan up to the dumpster to gather the pallets. 🙂
But, we couldn’t fit the pallets in the van. So the next morning the husband came to the rescue.
That’s one good man right there.
So…
Step One: Find pallets
Dumpster’s are a GREAT place to look for pallets. But you can also find them on Craigslist or ask around local business owners.
Step Two: Take pallet apart
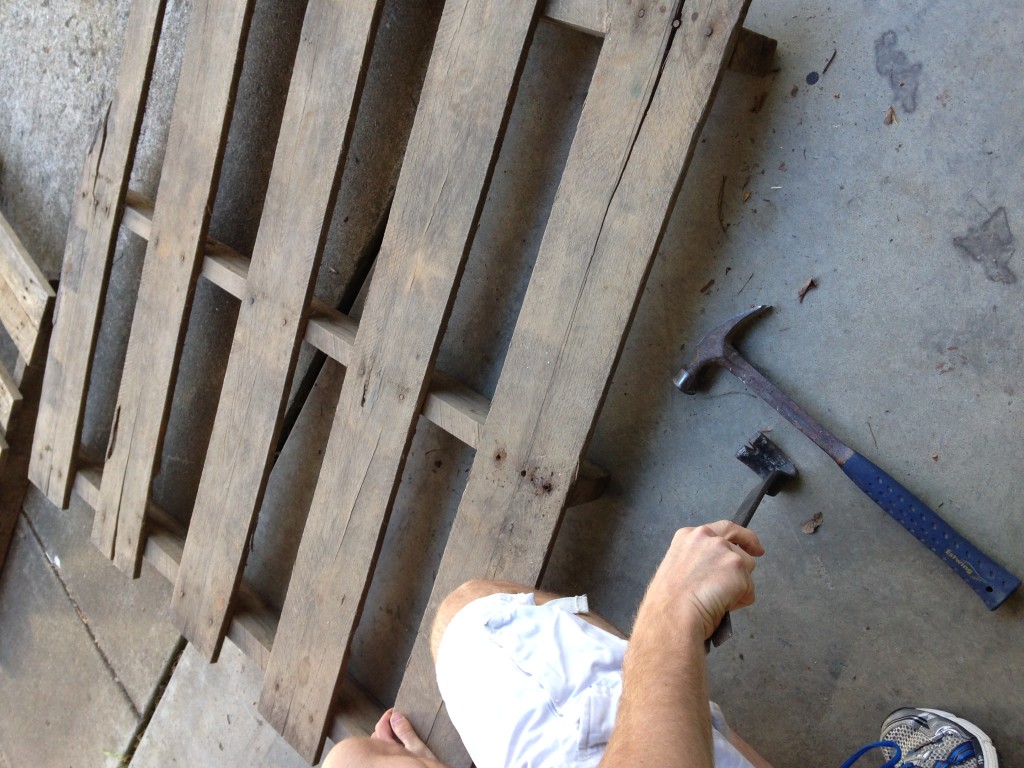
This was really the hardest part because if you are using an old pallet you need to be really careful. The wood WILL break easily. 🙂 Kinda found that out.
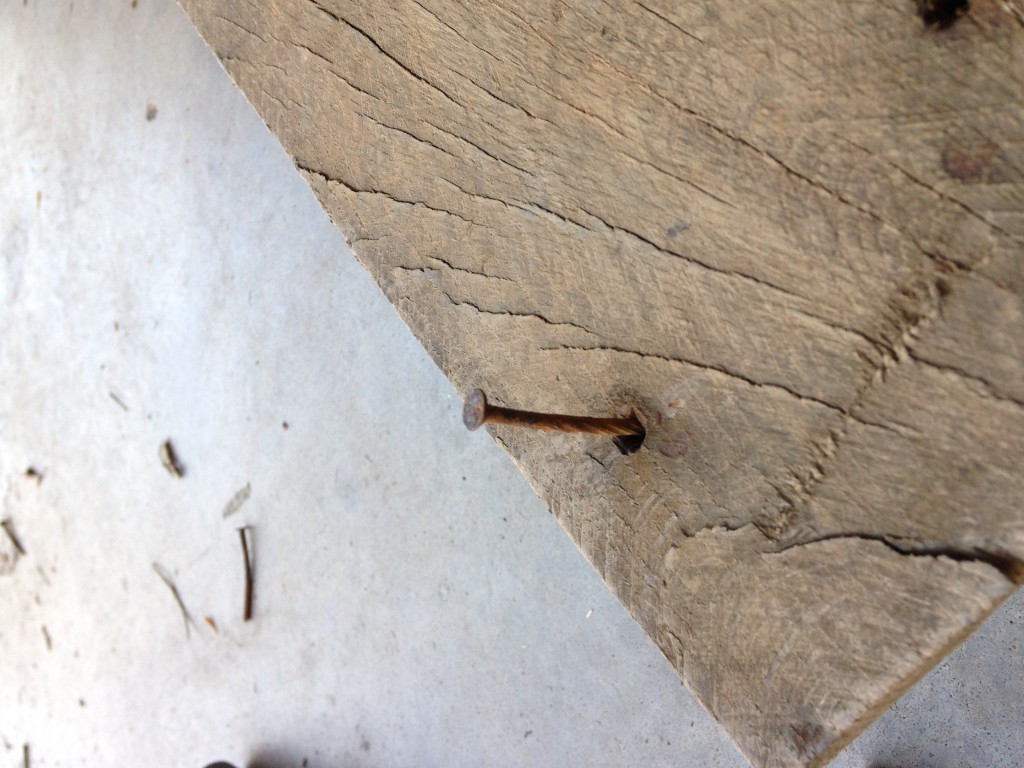
We took all the nails out and set them to the side in order to reuse them.
Step Three: Create your design plan
Once you get your pallet apart, you can see what you have to work with.
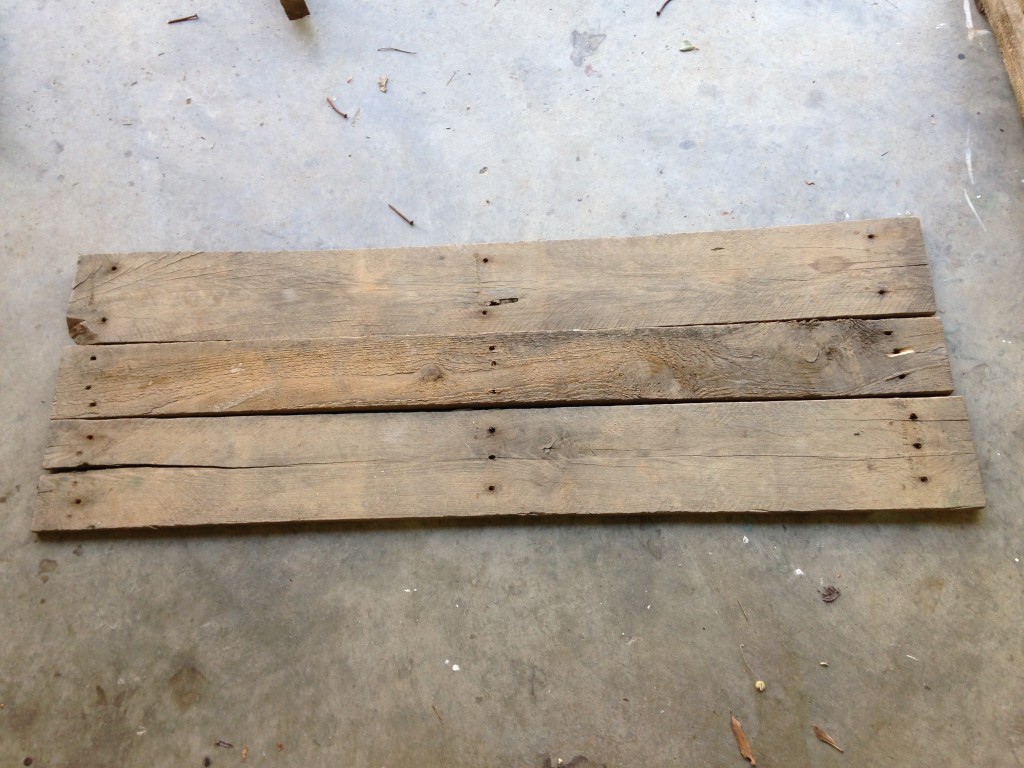
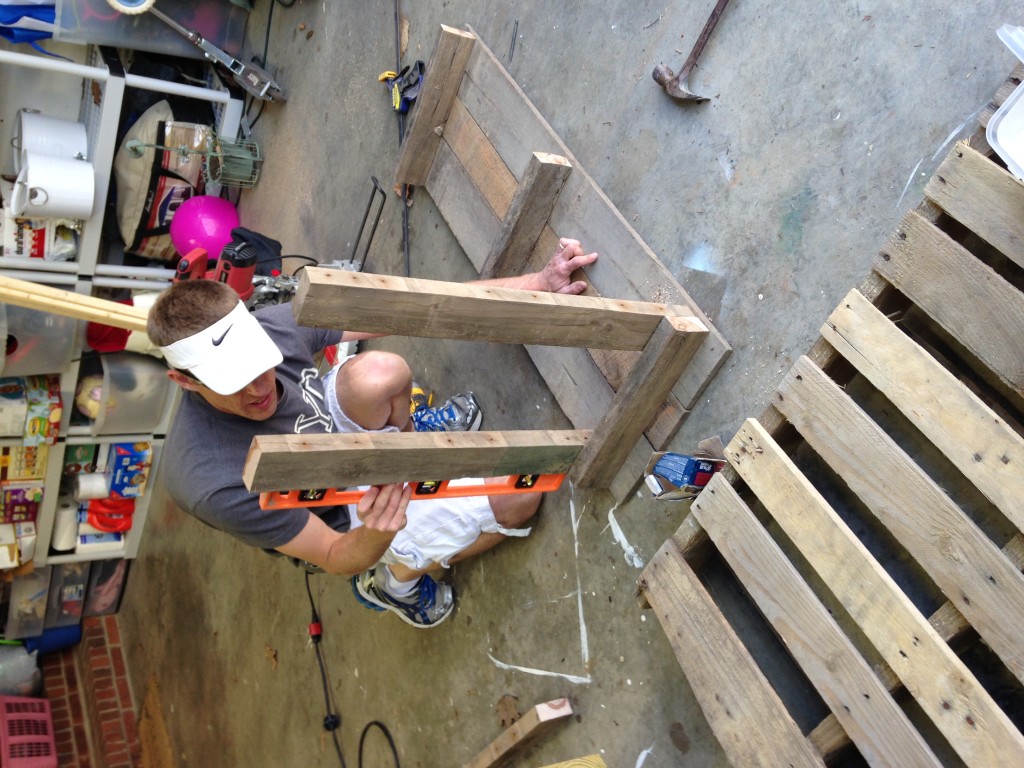
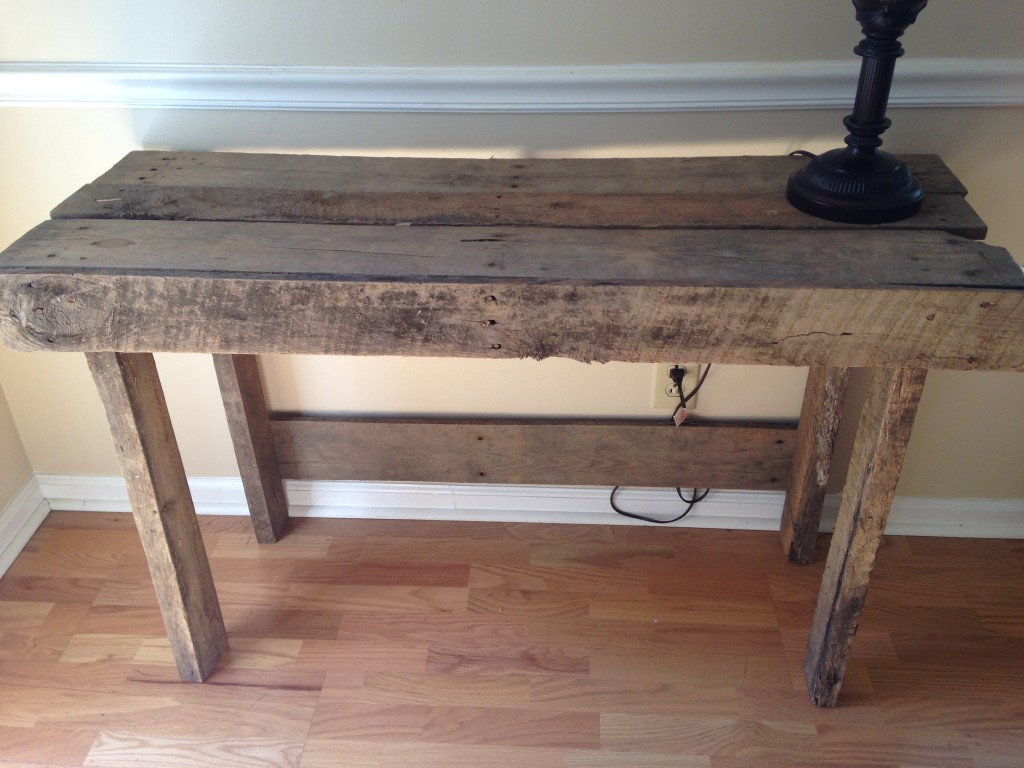
I only wanted to create a small table so we laid out three boards to see if we liked the look. We also decided how to place the legs and and how to make the table study.
Step Four: Clamp and Nail
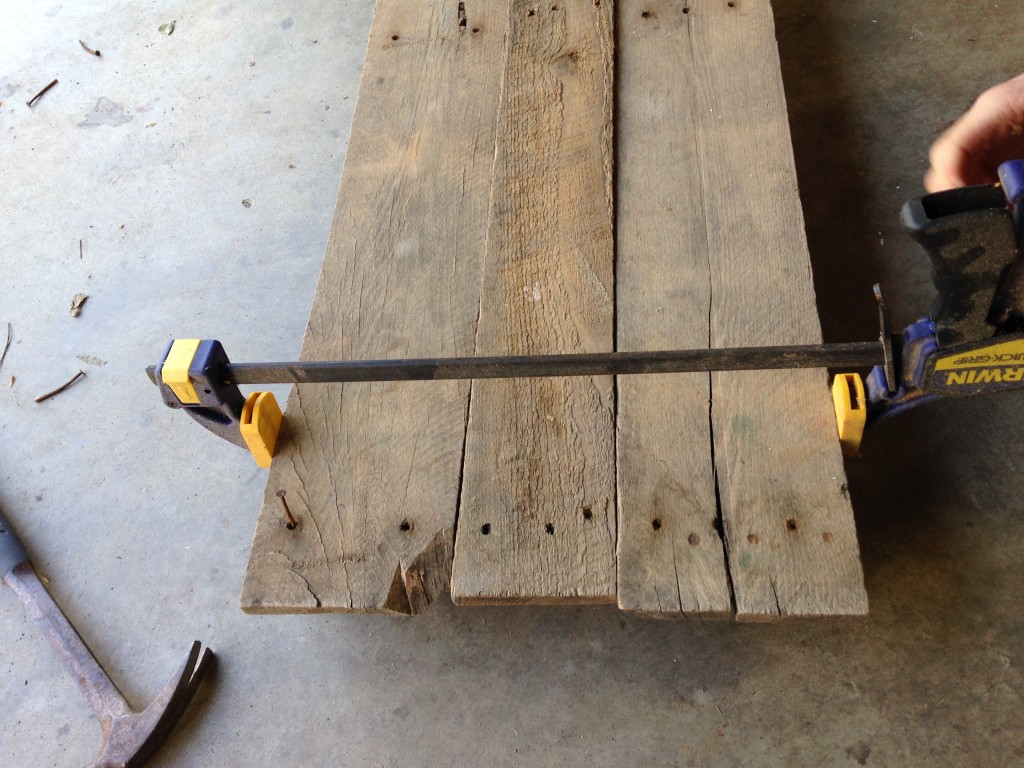
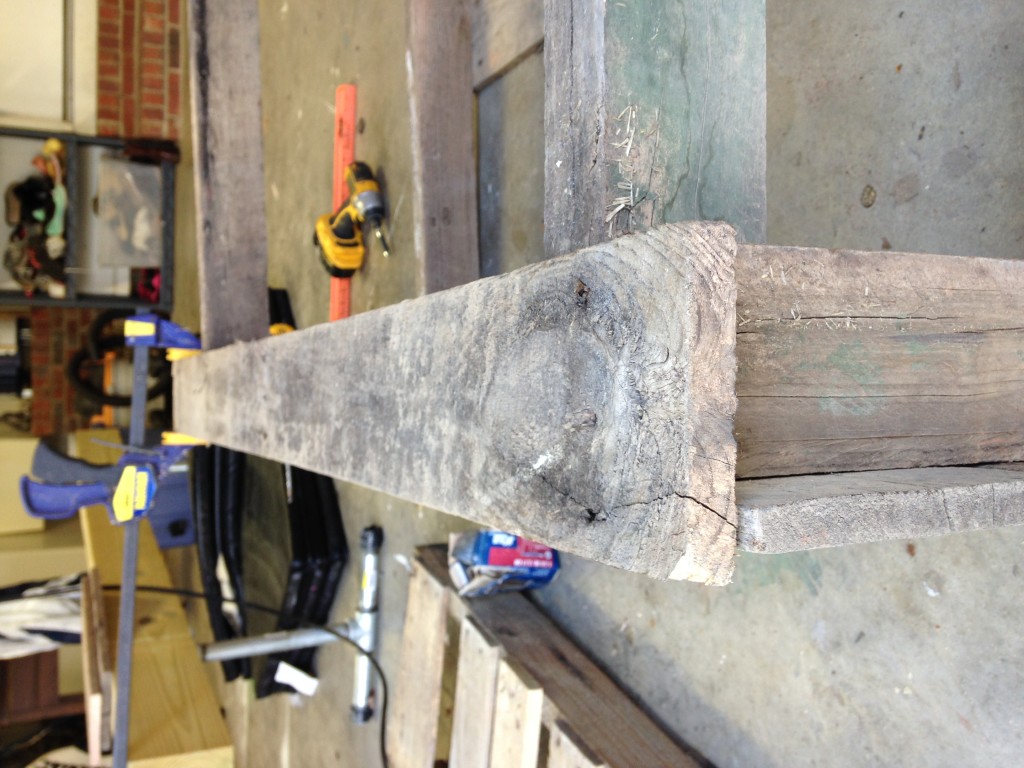
Since the wood was warped we needed to clamp it together in order to nail it together.
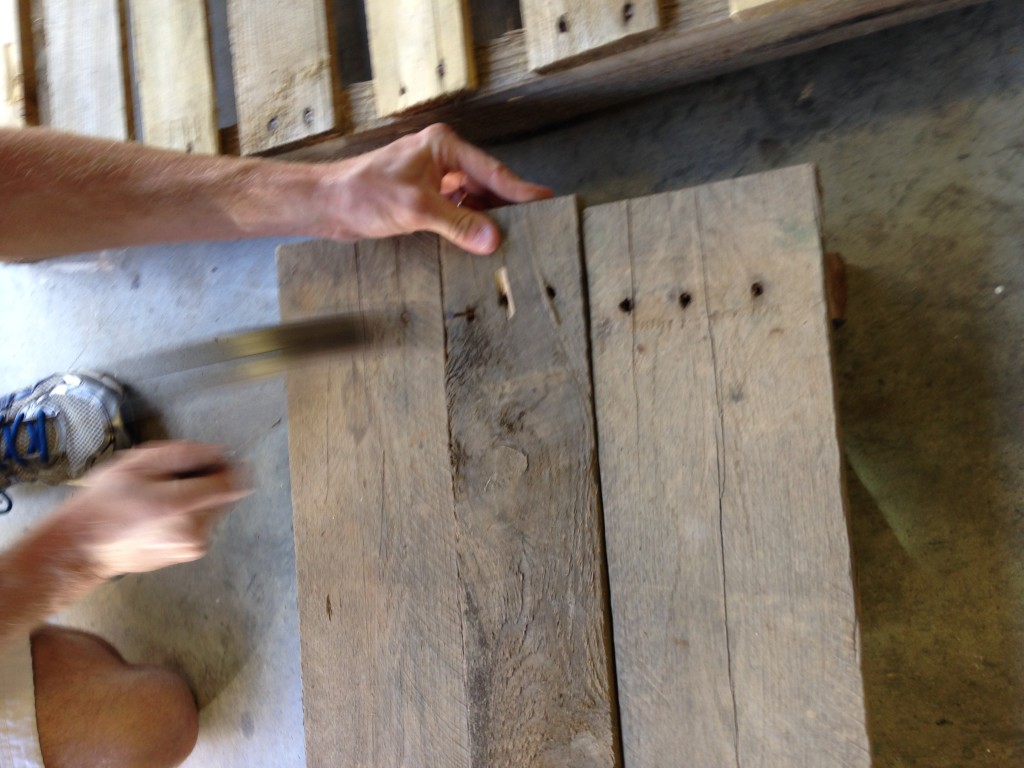
Then it was time to nail!
I suggest using as many of the original nail holes as possible. Also, if you are going for an aged look, reusing the nails is a great look!
Step Five: Add Legs
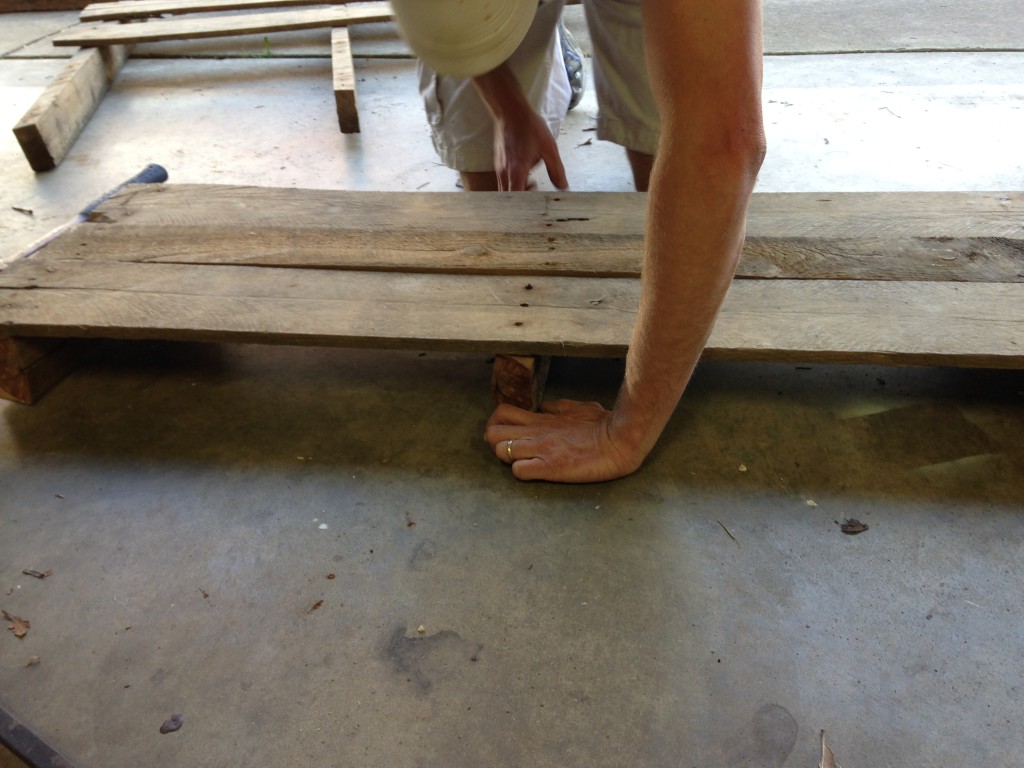
Okay so…when you take the pallet apart you’ll have the long-thin pieces of wood that go across the pallet and the thicker pieces underneath that hold it together. You’ll want to use those pieces for the legs.
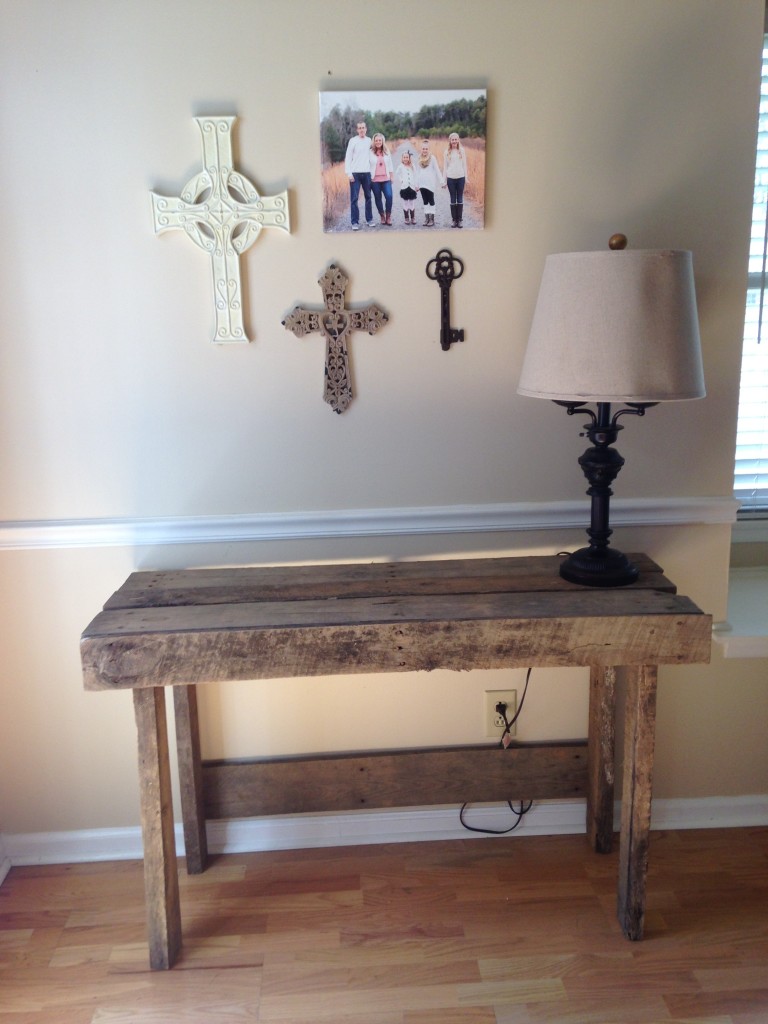
Then you’ll need to do some measuring. We choose to make the legs 39 inches high.
Cut the thicker pieces of wood to the height of the legs you’d like.
I don’t recommend using the same nails to add the legs. You’ll need some screws to help keep the legs secure.
Step Six: Finishing Touches
The last step for us was to add one more piece of wood across the top and one along the back.
This is a step you can be really creative with.
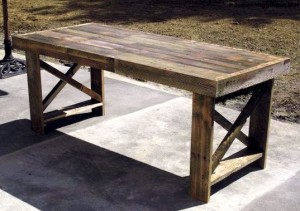
You could do a criss-cross pattern on the sides like this:
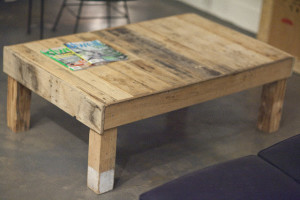
Or keep it really simple like this:
{image via Cush Design Studio}
And that’s it!
I still need to add a few decor things to this arrangement but…I’m in love with this table!!
What do you think? 🙂
Alright and now its time to announce the winner of The Great Friendship Giveaway!! Drum roll please….
Donna J!
I will email you to get your mailing information. 🙂
Have a great weekend everyone! I’ll see you back here on Tuesday for another edition of Two Minute Tuesday.


One Comment
Am I the Donna J that won? I deleted an email by mistake and wanted to be sure it wasn’t you. I’m rather excited! All the items are so cute and looking forward to learning from the cards!
Comments are closed.